


A brief introduction
Serverless computing model in cloud is the one wherein the cloud service provider manages the allocation and provisioning of servers, so that the developers can focus solely on the code. This approach eliminates the need for them to look into managing the infrastructure, in turn saving time & energy.
Building a serverless web-app
Serverless applications are made up of functions, which can be triggered by the events.
Project aim: Building a serverless web application that implements a "To-do app" with an API to store and retrieve tasks in a cloud database.
This involves six fundamental steps:
Install prerequisites
Building a serverless backend
Configuring a Lambda authorizer
Building and deploying the web application
Testing the application
Terminating the resources
To begin, we first create an IAM user and grant it the Administrator access so that we're able to manage the services from the console itself.
We then need to create a cloud9 environment. Cloud9 is a cloud-based IDE where we can write, run and debug our code. An AWS Cloud9 environment is a place where we store the files of the project and where we run the tools to develop the applications. (For more info., visit: docs.aws.amazon.com/cloud9)
Launch the cloud9 environment after selecting the preferred region and the required instance type. After launching, we clone the github repository of the project. We then need to make sure that we're using the latest version of AWS CLI (Command Line Interface) by running some commands, so that there's no free space issue with Cloud9 and it doesn't crash at any point of time.

For this project, we install Amplify CLI . AWS Amplify offers a fully managed service for deploying and hosting static web applications globally. (For more info., visit: docs.aws.amazon.com/amplify)

Building the backend:
Here, we use the Serverless Application Model (SAM) to build a backend process for handling requests for the web app. It is a framework that makes it easier to deploy serverless infrastructure.
It is based on AWS CloudFormation. A serverless application is defined in a CloudFormation template and deployed as a CloudFormation stack.
We then add the DynamoDB table to the SAM template. (Amazon DynamoDB is a key-value database that provides scalable, low-latency, and high-performance storage for applications) Next up, we create a Lambda function which gets invoked in response to certain events. (AWS Lambda is a service which allows the developers to run the code without managing servers)
For configuring API authorization, we use Lambda authorizer that uses a Lambda function to control access to the API.
Building & deploying the webapp :
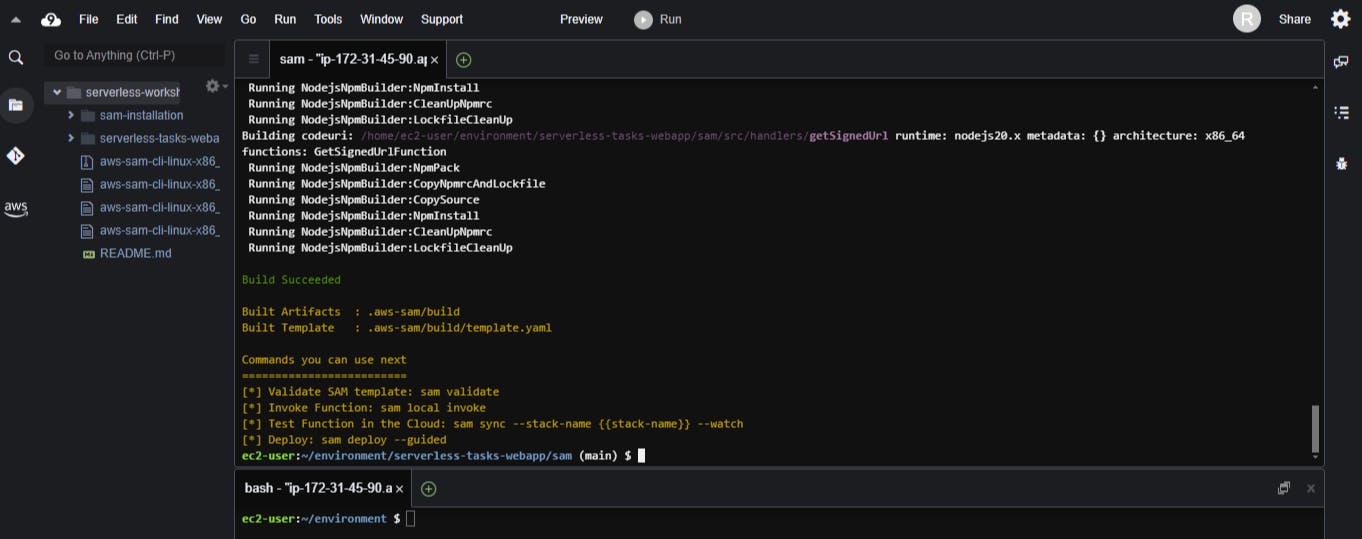
To build and deploy the application stack, we use the SAM CLI.
After getting inside the directory, the command 'sam build' (processes template file, application code and dependencies) should be made to run, in order to build the app. The interface would look like:
Now that the serverless application stack has been built, we can deploy it using the 'sam deploy --guided' command. After responding to the prompts with the desired options, the app gets deployed successfully, as depicted below:

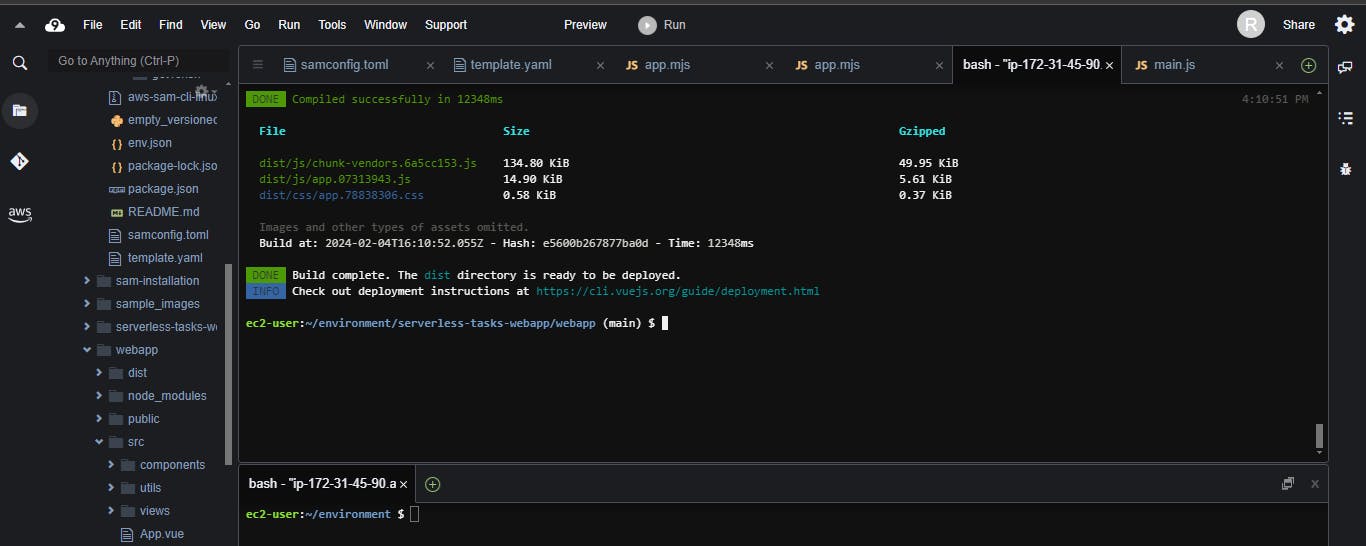
From the output of the previous step, we get the API Gateway endpoint URL, using which we need to configure it accordingly. Then, we proceed to building our web application ('npm run build') after installing the required dependencies. ('npm install') The IDE would now appear as:
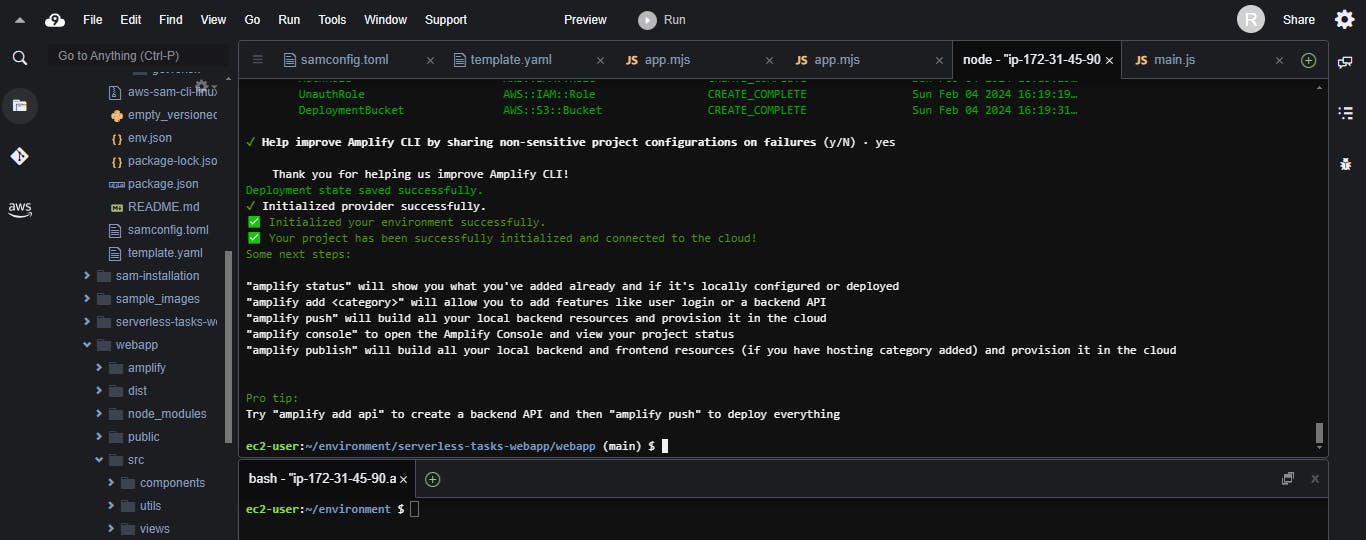
Now it's time to setup Ampify ('amplify init') and configure Amplify hosting, so that end users will then access our site using the public website URL exposed by AWS Amplify Console. We get the following output after running the command:
Run the 'amplify publish' command to publish the app. It would look something like this:
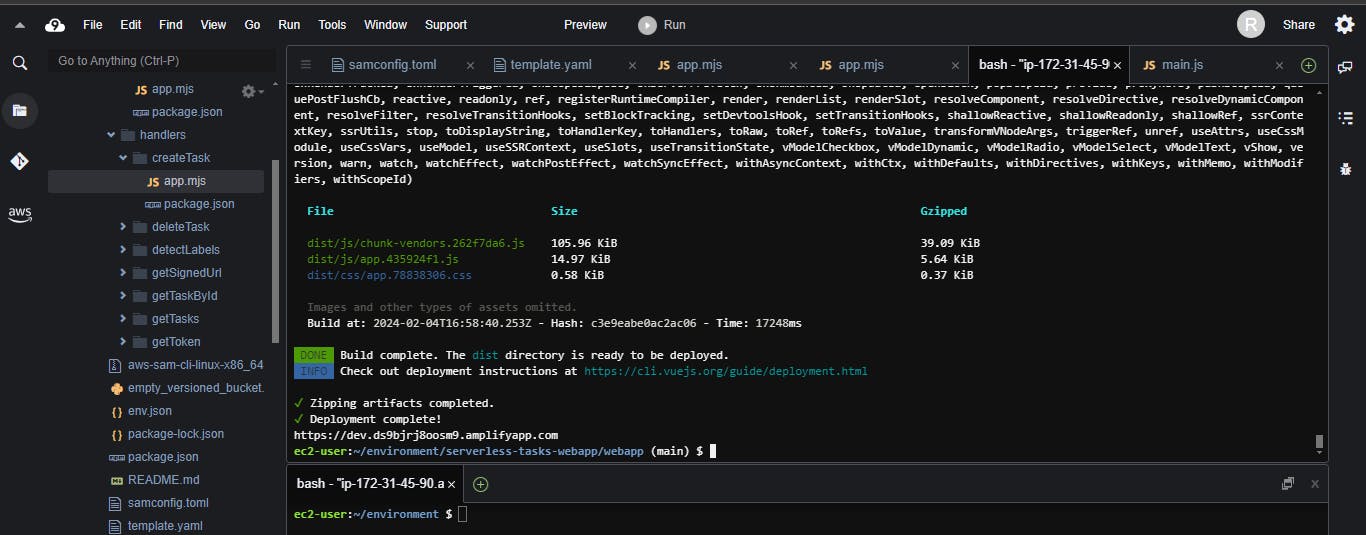
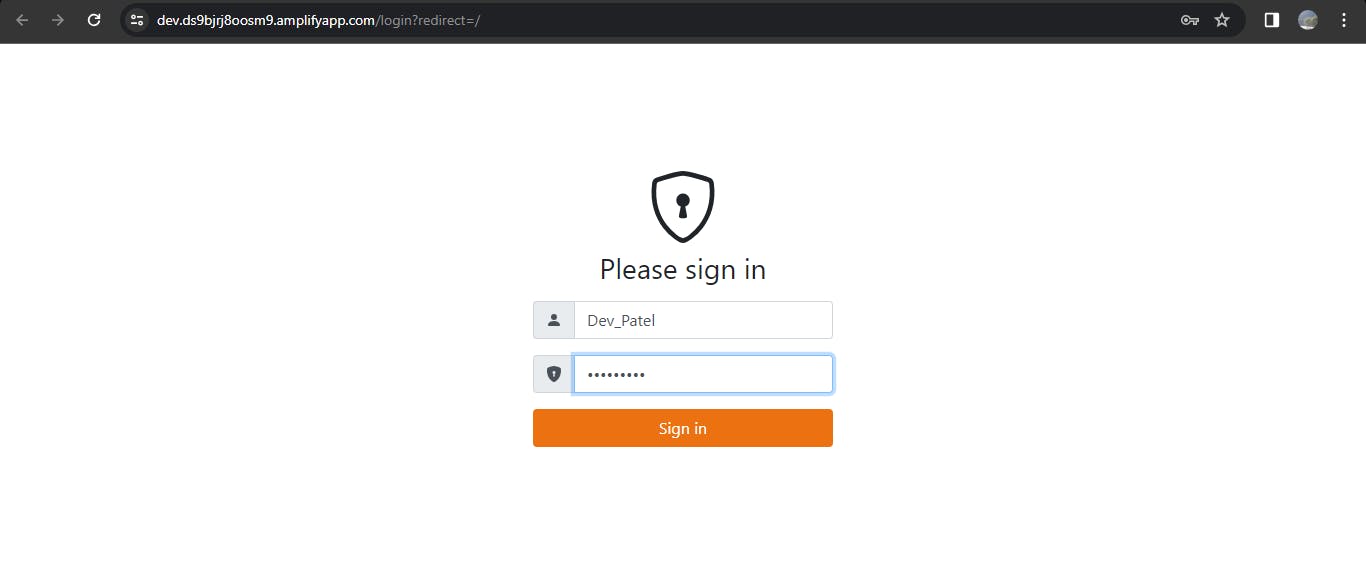
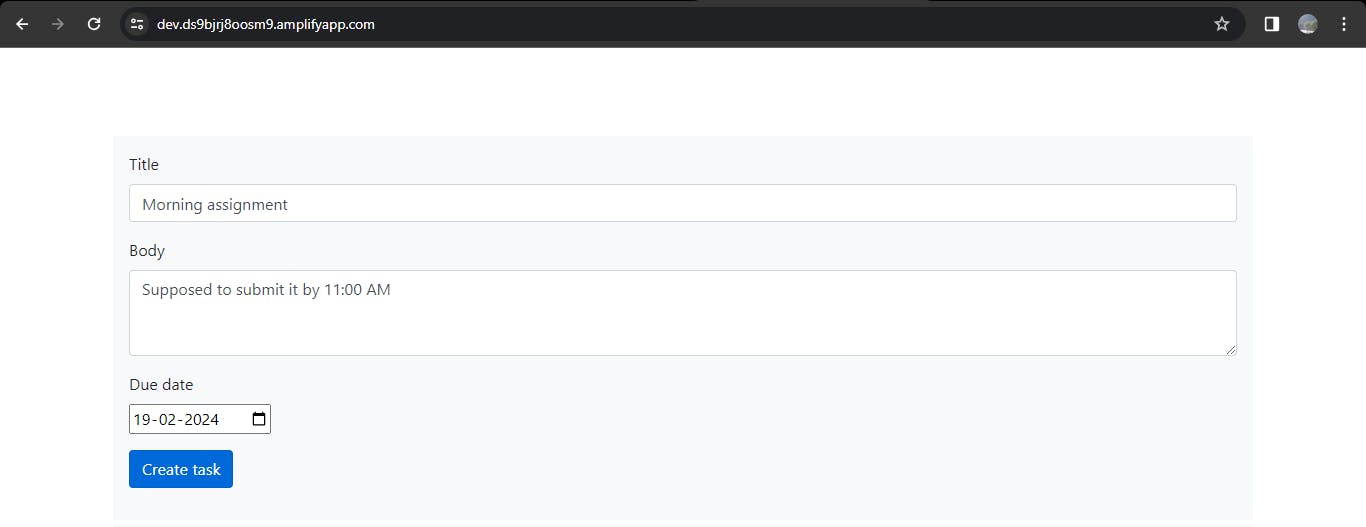
The URL available at the end of the output of running the above command is the web address for the web application, which can be used to access it online. The app which we built looked like:
Terminating the resources:
It's important to terminate the resources at the end, in order to avoid the long bills! The 'amplify delete' command will delete the project. Other services running can be shut down from the management console itself.
Thus, we've successfully built and deployed a serverless web application by leveraging multiple AWS Cloud services!